Begin with the end in mind

It all begins with a design.
Even if it’s only in your head, the first step in creating anything to wear is to take some time to really contemplate your design. If you can sketch, put it down on paper so you can really think through the elements that make up your vision. If it is inspired by a painting, print off the painting and draw in your edits and changes. Even if you don’t draw well yet, just making the effort to put some ideas on paper will help solidify your direction.
In this section, we will teach you how to think clearly about your design, decide on the materials, draw out the vision or at least write down a list of distinct details and then, how to set sail on the journey to completion.
Set Up Your Project
It goes without saying that any project, no matter the era, should have a little bit of thought put to it before embarking on the journey. The process is much the same whether you’re making historical or modern clothing. The work begins with managing your approach and thinking, long before your start making anything.
• Step one: Concept
This can be as basic as “I want to make a coat!” This is where it begins.
But what kind of coat?
How long is it?
What time period of coat?
What color is the coat?
What is the end use of the coat?
As you can see, this is the point in the process when you need to ask a lot of questions about your goals and vision for the garment or collection of garments. I think the easiest way to describe this part of the process is to ask the five Ws: Who, What, When, Where, and Why? Now, each of these questions take up a bit of print-space to type, but in the process of developing concept, they can be worked through in minutes…even seconds. As a long-time maker, these questions have usually been answered in my head before I even realize that I should embark on a new project. But just in case your mind doesn’t work like mine…lets go through the Ws together. There is quite a bit of overlap in these questions so don’t worry if you think one of them should be somewhere else. What is important is that you ask the questions. Not the order in which they are asked.
• Who is the garment or item for?
For historical dress, the answer to this is usually “me.” In modern fashion, or if you’re creating historical collections for sale or for friends, you need to ask yourself “who is my customer?” In womenswear, you used to hear “who is your girl?” (though as our culture shifts its ideas of gender, this is becoming more neutral). But the sentiment is the same. Who is wearing these clothes and how do you think they relate to the garments as a part of self-expression or for the character they’re creating? This takes us to the next W which is more complex.
• What? What is the recipient of the garment or collection trying to say about themselves by wearing it? What are they trying to achieve? Are the garments utilitarian? Are they statement pieces? Are they both? What do the design/s look like in your mind at this early stage? Do you have a vision yet? What are you making? You can see that “what?” as a question can spin in a number of different directions and you should explore them liberally and freely. What are they made of? The list of what questions spans everything from concept to construction. Linger on this question for a bit if you can. Answer every question that pops up and make sure you feel good about the what.
• When? This is a simpler question to ask. For historical clothing, this question has probably already been answered. When is the clothing from? For modern fashion, I think its important to ask when the client might wear what you’re making. Is it evening wear, day wear, casualwear?
• Where? Where is this outfit going to be worn? Is this for a big party? Reenactment? What country is the look from, if it is historical? If it is modern, where are you trying to take the wearer? Where is your concept trying to take the viewer?
• Why? This is one of the toughest questions, in my opinion. This world already has so much stuff in it. Why does this outfit or garment or object need to be made? Why does it need to take up already precious space and resources? Why should it exist? It seems like I’m going needlessly deep with this question, but its essential that our work serve a purpose and if we can’t find it…let’s consider that we might not need to make it? Now… “because I want a pretty outfit.” is a perfectly acceptable reason. Because it will make someone happy! Because it will help me reach my creative and professional goals! Because people have forgotten how to make things like it and I need to show them! (This one happens to me all the time). So just take a moment and consider its importance before you begin. Finding clarity about this can help focus you later on in the process when you need to find motivation to finish it.


A sample trussing method to tie breeches and doublets together.
Step 2: Study
This step is exactly what it sounds like. Whether you’re designing modern clothing or historical, you need to spend some time looking at images. For history, you need to know the time period, style and class level of the clothing you are trying to create. If possible, you should put a bit of energy into finding out some specifics about the time and location of the clothing as well. In each region, there were rules, regulations, and social conventions which governed the way clothing was made and worn. If you don’t put any energy into understanding this part of clothing history, you not only leave opportunity to miss the mark, but you lose out on a deeper level of understanding about a bygone culture.
If you’re thinking of working in a modern context, you need to spend time researching your idea and concept. If you’re making a collection inspired by history, it might be a good idea to come up with a set of rules with which you apply historical elements to the modern wardrobe, creating a cohesive look and visual language around your work. A good example would be collars. You can create cohesion throughout a modern jacket collection by using the same kind of historical cut of collar on all the pieces. Sure, you might modify the proportions, but the cut stays the same. Like a musician, riffing on a few simple bars of a melody.
Step 3: Visualize it
Every designer needs to have a way of relaying the details of their design. Whether you’re relaying those details to people in a sample room, costume shop, or simple to yourself, you need to have a visual method of passing along/cementing your thoughts and ideas about a look. Illustration is the most common method of relaying and preserving design information. The language of illustration is based on common symbols for details. A good example is the dotted line shown in the illustration to the right. This is typically indicative of a top-stitched detail or quilting, sometimes both. A dark, heavy line around the edge of a detail could mean a binding, or a piping where a thin edge might just mean that the piece is hemmed. Little round things are often beads or buttons. You don’t have to be a phenomenal artist to create a useful illustration for costume and clothing design, but you do have to truly understand what your symbols mean to yourself and to others.
As you become more skilled in design, you will refine your visual vocabulary for relaying information and develop your own unique style.
Let’s be honest though, many people aren’t cut out to be illustrators and what do you do if that person is you? I have seen people draw directly onto printed images of similar garments. I have had a fellow design instructor give a class on using paper cutouts to create unique style and designs for fashion. I have had designers who just bring in a board covered with photos of fashion items organized into groups for different details. This can be called a style board, storyboard, or simply “tear sheets.” This is an old term from the days when fashion magazines were the only way to get your fashion updates— A time before the internet.
Whichever method you choose to formalize your design…don’t skimp. You need to answer all the questions about the details so you can make sure you have all the supplies to work through the first iteration before you begin.

An illustration of a fantasy-period costume design.
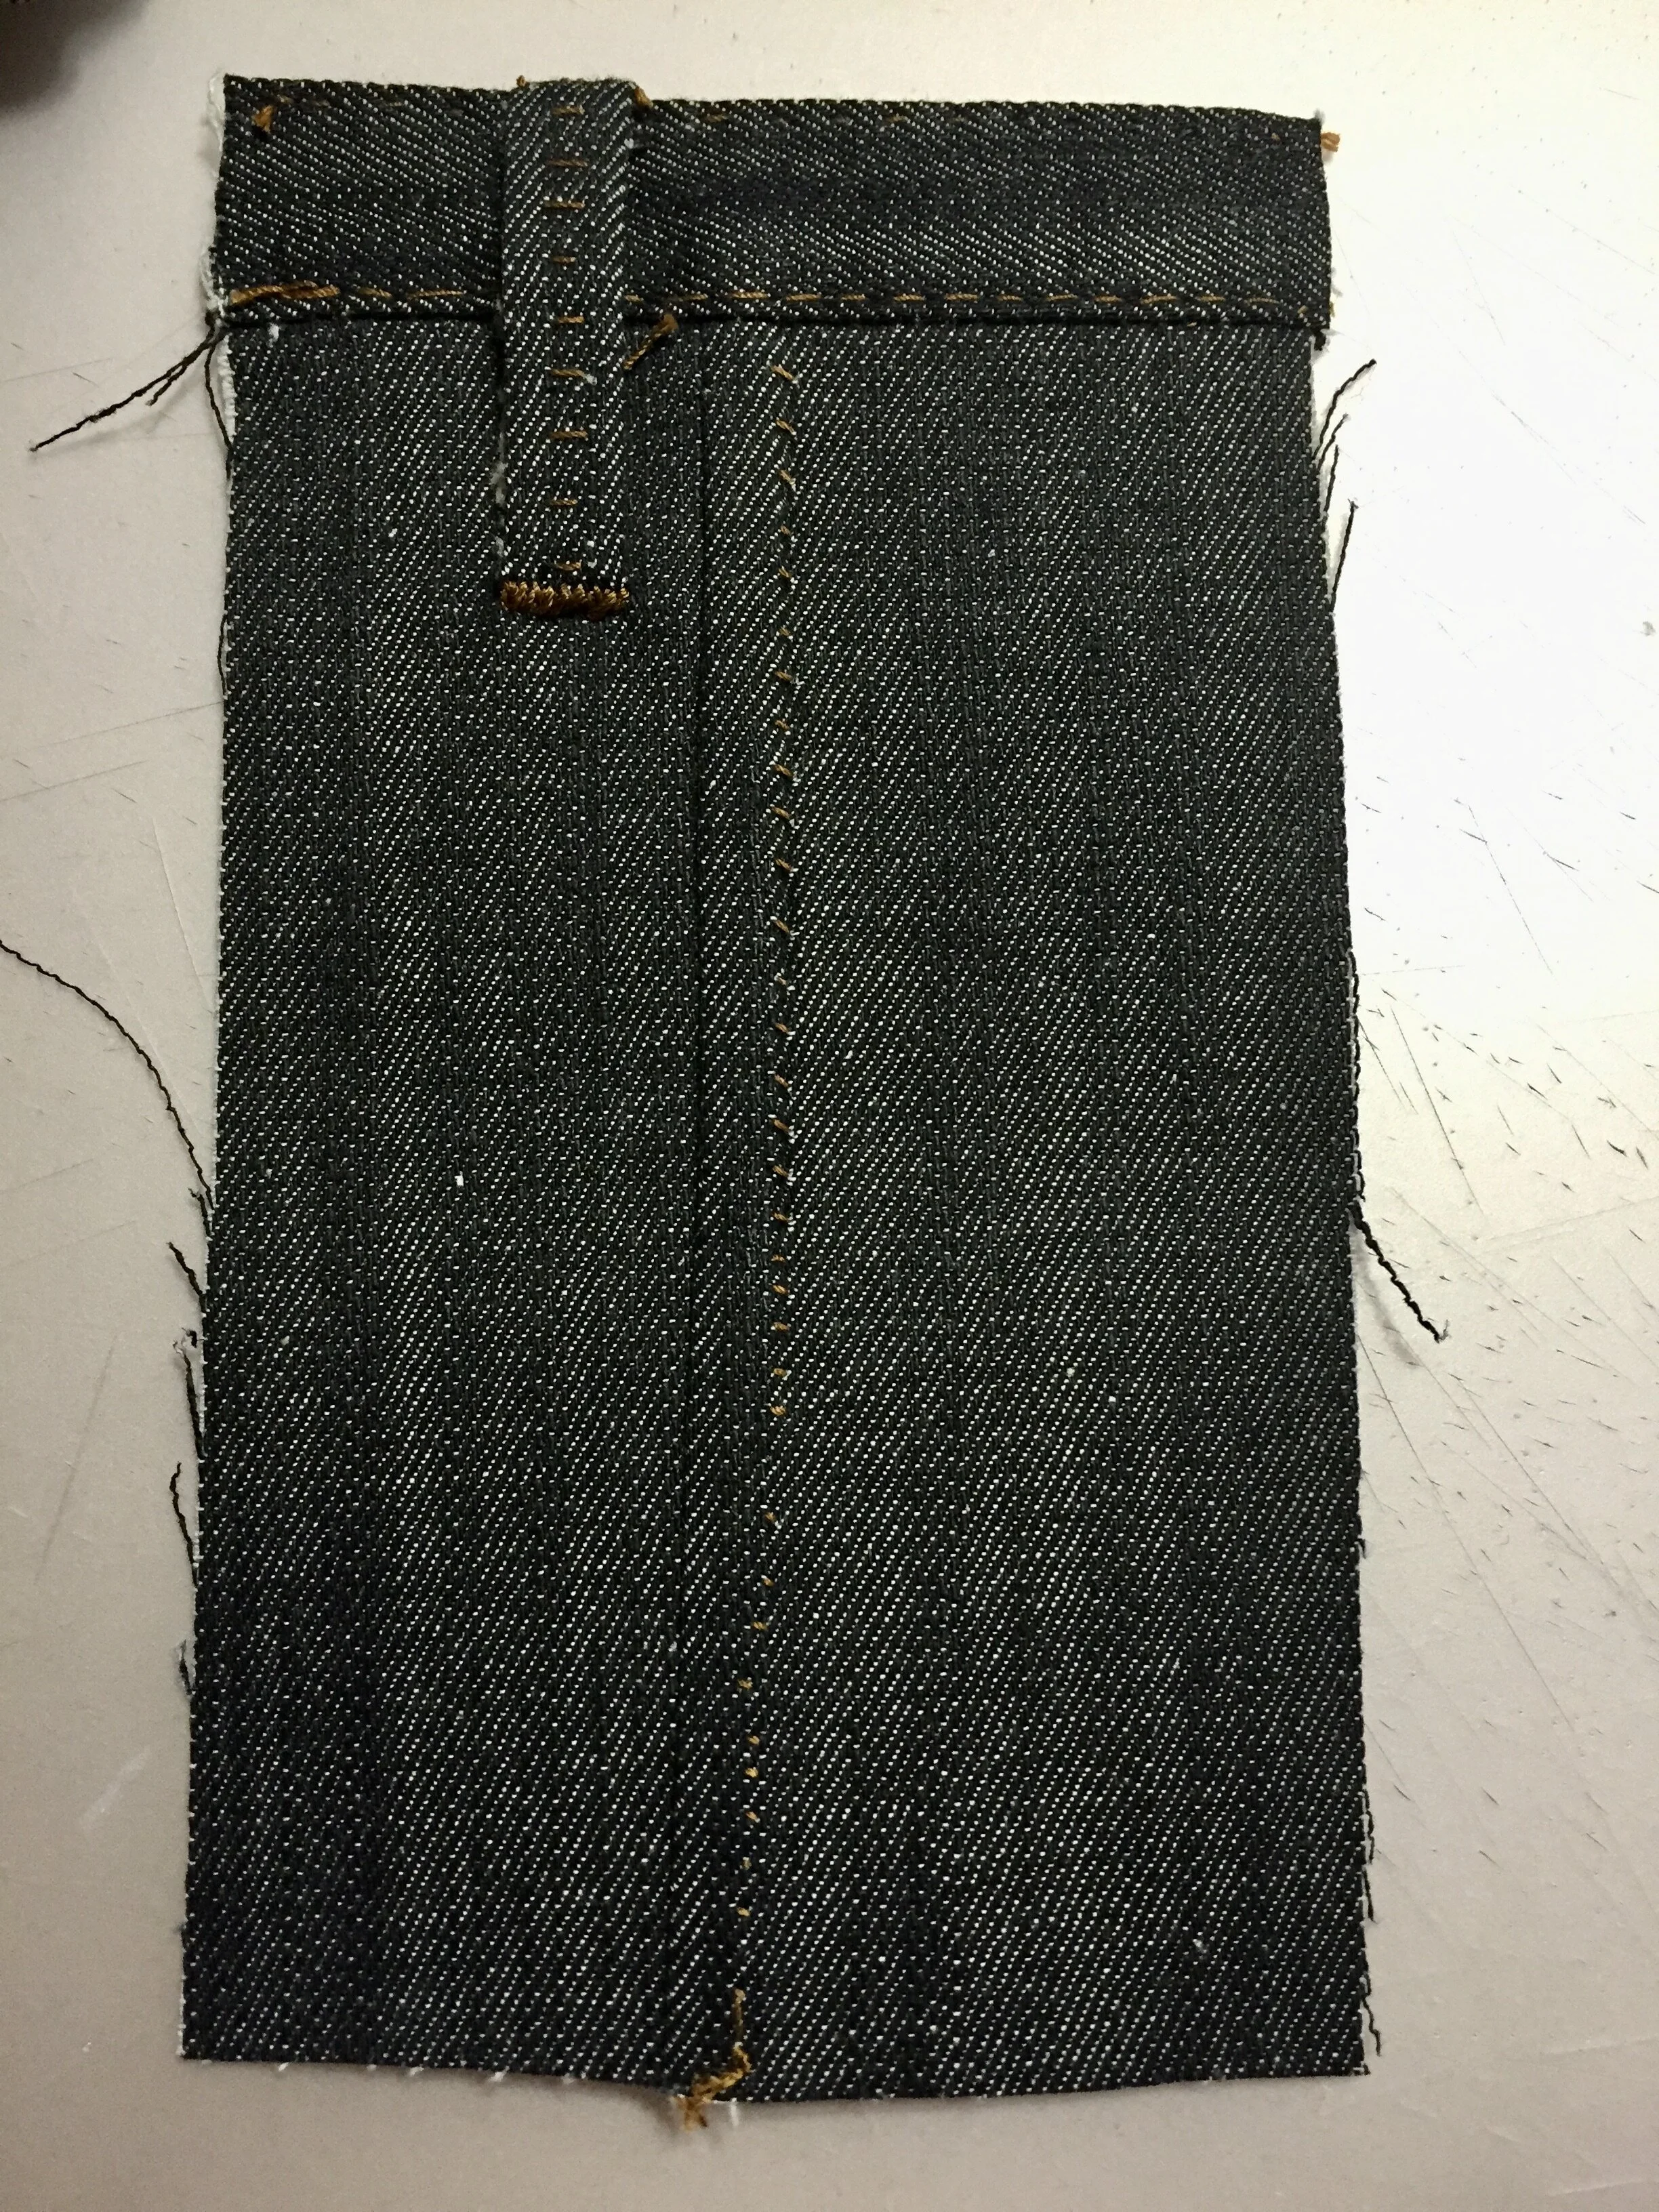
A testing sample for a hand-sewn denim trouser.
Step 4: Sample the Fiddly Bits
One of the most common things I see people skipping in their process for both fashion and costume is the sampling stage. At this stage, we are not yet to the point where we cut and make a mockup or prototype. In this stage we look at all of the little details. Stitch sizes, thread types, buttons, buttonhole styles, trim type, style and applications, seam treatments, stiffeners and tailoring materials, shrink tests and more. If you’ve created a design with a technique that you’ve never tried before, this is the time where you figure out how you want to do it. You create samples from small pieces of fabric and practice. This is like a warmup before the big show. You should not be going into a project without having tested out your theories, geometries, stitching, hardware and more. Though we usually skip this step because of time constraints, it can really backfire in the end if you haven’t made enough tests and something goes wrong in the final garment. Sometimes something as simple as a stitching technique can vastly change the drape and function of a section of material. What happens if you haven’t accounted for that in the final fabric? Do you really want that kind of surprise? I know I don’t.
If you constantly feel like you run out of time, it might be time to take a step back and consider your processes, deadlines and planning habits. You should be factoring in this time to learn how to expertly do all the things this garment, costume, or collection will require of you. If you skip it, you’re launching a project with at least one arm tied behind your back.
Give yourself the power to succeed and sample out all the details before you even cut your mockup.

Step 5: Make a Mockup
Even the most skilled crafts-person needs to test out new things. If you’ve never made this garment or object before, chances are, your first attempt will have flaws and issues that need to be corrected. This is not a reflection, necessarily, of your skill level, but it is a reality that must be accepted and dealt with. Every new object will have different qualities, either because of the materials, the process, or even changes in how the maker sees what they need to do. This is the moment when you make the first, full-size version of your vision. In the world of costume and fashion, this stage is often made of muslin/calico and is meant to be tossed aside once the sampling process is complete. However, I have always felt that this is a waste of time and energy. These days, when I make a mockup, I make it complete with linings, trims, hardware, buttons and more. I try to find fast, inexpensive ways to make the object as close to the “real” one as possible so that I have a true and full understanding of how all the dynamics work. That means how the closures fasten, that means finding out whether it works when worn over other layers. Is it mobile enough? How does it drape? I ask all of these questions after I’ve made the mockup.
I am, quite often, fitting people via video and not in person so I direct an individual who is “on location” with the client to pin in very specific ways. Once pinned, the garment/s are sent back to me and I analyze the pins, alter the pattern accordingly and make the final garment.

Working in this manner creates several benefits. First, I typically only have to sample the garment one time. I get all the information that I need in one fitting. The second benefit is that I have a completed garment that I can use for other clients who are a similar shape/size and fit them with the mockup. Then I can take another pattern and customize it for the new client if possible. It is somewhat rare that this actually happens, however, and most often I just retain the mockup garment or suit for a while and then sell it off for a low price to recoup the cost of materials. The time is irrelevant in this calculation since the original client has already paid for my time to create a custom suit.
It just adds another layer of revenue that is beneficial. For the people buying the lower-cost mockups for their own use, it becomes a luxury to be able to have something made well, that is affordable. Now, if you’re not selling garments like I do, you can make your own choices. Donate them to a community theater or a school…make sure to get a receipt for tax purposes.
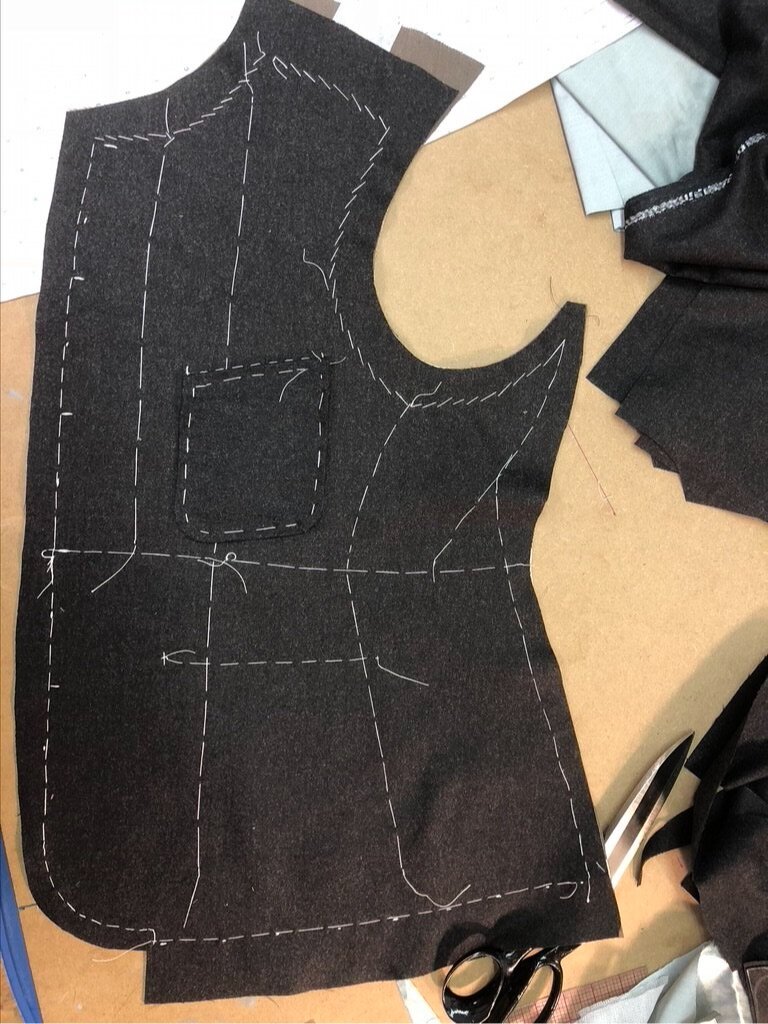
In the photo to the left, you can see that I’ve gone into real fabric for the main suit in this instance since I knew the client’s body and was limited on time. I was also confident that I could make necessary alterations easily, should anything have needed to change. But since I’d not made an over-garment for the client before, I chose to make the mockup in a muslin/calico material so that I was risking very little expense. The over-garment required a lot of yardage as well, and since it was not an inexpensive material, I wanted to be sure that I chose the cautious route.
Make the Final Garment
This is it…you’ve done your research, consulted with your inner self or your client about what is desired. You’ve made the pattern and the mock-up and you’re ready to get going. Many people balk at this stage. They often have expensive textile and they suddenly get worried that they’ll make mistakes. But don’t worry! This is why we go through all of those other steps first! There is time spent on learning what is needed. as you have done your stitch samples, you know what the fabric needs in terms of stiffness, stitches, and ironwork. Now you have to trust yourself and trust that you’ve done your due diligence in working through the doubt.
Don’t skimp on technique.
This is a pitfall of many, many costumers — especially hobbyists. The process of designing and making an outfit can be long and involved and sometimes, just the opposite of doubt, the costumer gets excited and rushes forward without taking the time to do things the proper way. Steps and processes are skipped in favor of getting to the finish line as fast as possible. But you’ve come this far…why take shortcuts now?
Work efficiently and patiently and you will end up with a stunning result.
You CAN do this and do it well. You just have to allow yourself the space to learn. Allow the time to do things carefully. You’ll get faster the more you practice, but if you’re a beginner, whether in modern or historical clothing, you have to be kind to yourself and know that mastery comes in its own time.
Breathe deep and relish the journey, it’s worth it.